technicalsupport@gulfcoast.edu
850.913.3303
Zoom Audio
Updated: 2/18/2025
Once your Zoom meeting is connected, make sure the microphone and the speaker are both set to “Echo Canceling Speakerphone” in the Zoom settings.
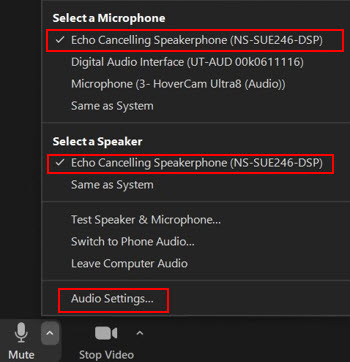
Go to Audio Settings and look for the following:
- Uncheck the “Automatically adjust microphone volume” box.
- Change “Suppress background noise” from Auto to Low.
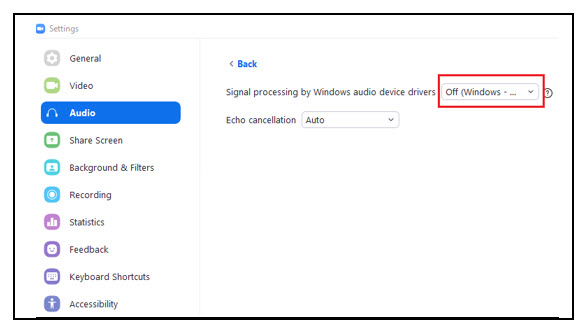
- Click on the “Advanced” button, change “Signal processing” from Auto to Off.

Zoom Video
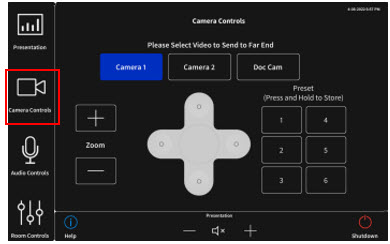
Before you make a change in Zoom, check to see if the document camera is turned on. Using the touch screen panel on the Smart Station desk, go to “Camera Controls” on the left-hand side to switch between Camera 1 (instructor), Camera 2 (students), and Doc Cam.
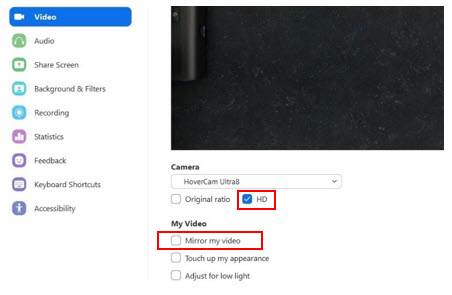
In the Zoom video settings:
- Select “HD.”
- Make sure “Mirror my video” is unchecked.
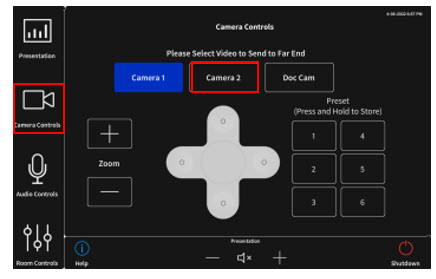
 If you are the campus receiving the Zoom meeting, check all the audio and video settings
and make sure your camera is set to “Camera 2” on the Smart Station touch screen.
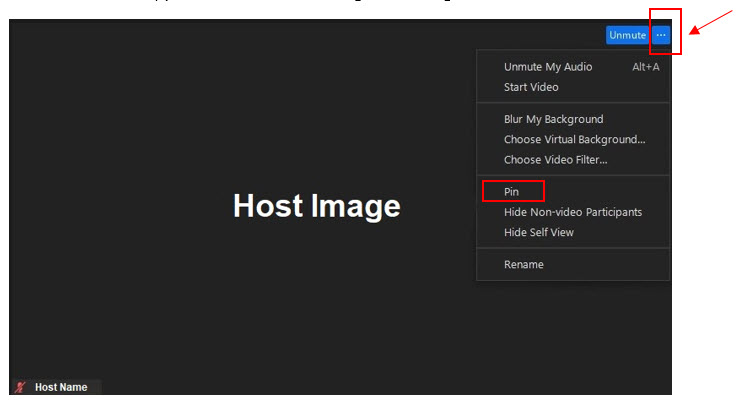
 In Zoom, pin the host so their image is the largest on the screen.
Sharing a Video From the Computer:
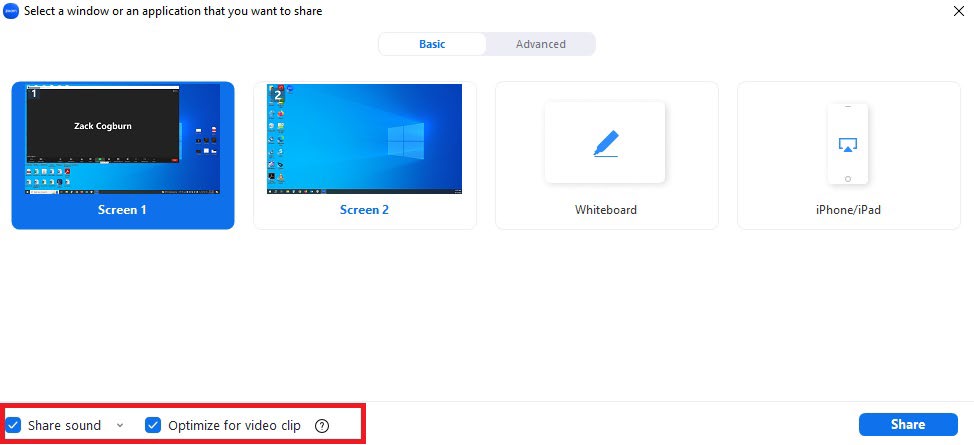
Once you select the green “Share Screen” button, a new window will open up with all of the computer’s active sources.
Make sure to select the checkboxes for “Share sound” and “Optimize for video clip” before choosing the source to play a video. This will help with the video’s playback quality during the Zoom call.
Focus Mode for Recording:
If you are recording a Zoom meeting, enabling “Focus Mode” will help capture only what you are sending on your screen. This setting will need to be enabled in your Zoom user account before you start a Zoom meeting.
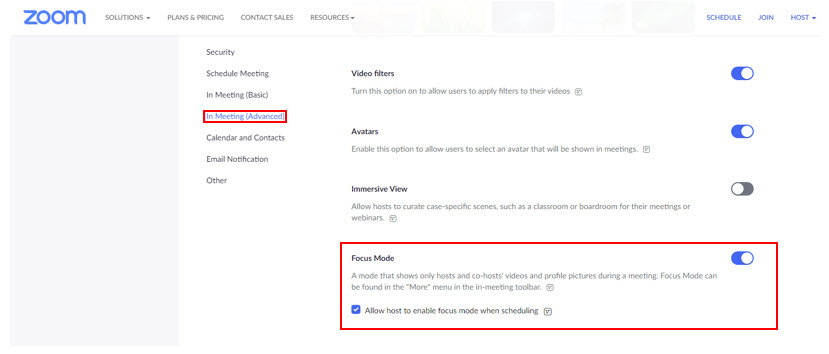
After signing in to your account, go to “Settings” than “Meeting.”
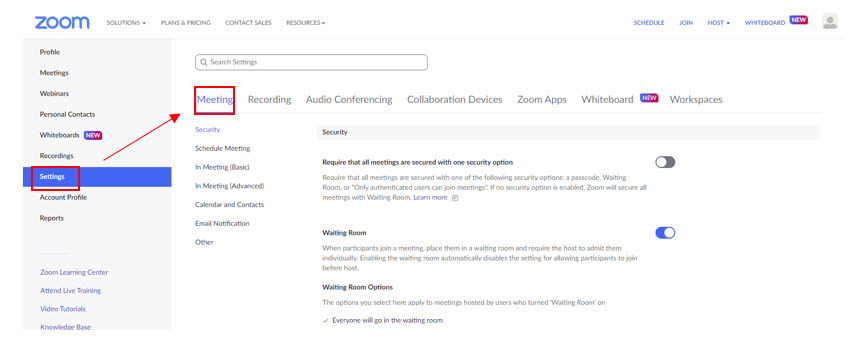 Click on “In Meeting (Advanced)” and turn on “Focus Mode.” This setting will be saved
in your account for future use.
